Wednesday, December 28, 2011

Boa Scarf

I decided to make a boa like scarf out of some extra yarn that I had for my little step-sister to be able to play dress up with.

I skein Fun fur type yarn (now I took my one end for the inside and my one end from the outside and knit them together to make it a bit thicker so that the needles holes didn't show through and it made it a bit fluffier and more boa like!)
Size 5 knitting needles

CO 8
Knit until it is the length desired
Bind off

There you have it simple as that, and cute too if I must say so myself.

Tuesday, December 27, 2011

Chuggington Train or Car

I made this adorable train out of Felt, and I had so much fun!! We gave it to one of our second cousins for Christmas.

1.5yds of Red Felt (or color of your choice)
.5 yds of Black Felt
.25 yds of White Felt

First, I cut out the shape of the side of the train, I guessed with this as I only had a picture off the Internet to go by.  I cut out two of these pieces.  I then cut a long piece of felt 6" wide and about 32" long to attach to these as the middle piece.  I also cut out all the wheels, I used one of the covers for my little man's bottles since they were bigger and a perfect circle.  (I put 4 wheels on each side, so that was 16 circles that I cut out of the black felt).  I also cut out some black pieces to attach the wheels to the train, I used the parts between the circles that were left on the felt.

Next comes the sewing and there is quite a bit of it just a heads up.  I sewed two of each circle together, so I could lightly stuff them, so leave a small opening so you can add some stuffing.  Once I filled them, I sewed up the last little bit by hand.  If you are making a train you don't want them too big as trains don't really have thick wheels.  If you are going to use this idea to make a car, then stuff them full and you may want to make the circles a bit bigger.


For the main part of the train you are going to always keep the long piece straight, DON"T TURN IT, only turn the shape of the train.  I started half way on the bottom of the train and started sewing.  Now remember when you get the the corner, just move the foot of the sewing machine up and move just the shape of the train so that it lines up nice again. Below is a picture, but it is kind of hard to show in picture form.
When you are all done with that one side the train should look like this. Now the middle, straight part looks funny but that is because it is standing up on it so you could see the train shape. Looks pretty good!
Next, you are going to take the other side of the train and pin it to the straight piece.  Make sure you line these up correctly or you will end up with a  really funny looking train.  The hardest part is probably making sure everything lines up good.  Then sew that side. Oh I forgot to mention earlier I used 1/4 in seams, sorry about that. This is what it should look like when both sides are done!
Now if you notice at the bottom you should have a hole left where the two ends come together, this is intentional, as now we are going to stuff it, so it maintains the wonderful shape.
Before you stuff it tuck in those ends a bit so that when you sew it up it is a bit easier and you don't have to try and jam them in there with the stuffing.  Just a hint!

 Now you are going to sew up that seam.  I used black thread here, so you could see it a little bit easier.
You now have the base of your train all finished.  So here comes the fun part, attaching all the decorations. Because this is a cute train, I made a face for it out of white and black felt pieces.  I then also made the side decorations. (I put all of these on before attaching the wheels so I knew where to place the wheels).  You can attach these by either hand sewing on all the pieces or you can hot glue them on.  I used the hot glue, and then I put the wheels on by hand sewing because I wanted those to be a bit more secure.

Pretty cute huh?
For the wheels, I first sewed the spacer(I don't know what to call the thing that connects the wheels together so we are going with that since it is an easy word) to one wheel and then to the other.  Do this for all the wheels so you could have two wheels connected to each spacer.  I then hand sewed them on to the train evenly spaced on each side so they matched.
I think it turned out quite nice for a first attempt at something like this.  I was really pleased with the outcome and I think he was too.


Here are both of the trains that I made, with the book that he got!

Stain Remover

This works wonders on all kinds of stains that come with babies, so it has been tested on almost everything under the sun.  It even got blueberry throw up out of a white comforter!

1/2 c hydrogen peroxide
1/2 c baking soda
water

Mix the baking soda, peroxide, and a small amount of water in a bowl.  When the baking soda is well mixed, pour into a squirt bottle and fill the rest of the way up with water.  Before you use it each time you will need to shake it up, but it works wonderful!

Facewash

I have always had really bad acne, and have never found a face wash or scrub that works.  I have been trying to get it under control since I was a teenager.  Unfortunately with this pregnancy it just got worse, so I was willing to try just about anything.  So with nothing to loose, and after reading about it I decided to try honey!  Yep you read that right HONEY! And let me tell you what, it is the most amazing this I have ever used and I don't have a single pimple on my face!  Do you know how long it has been since I have been able to say that? It is wonderful and I would recommend it to anyone who has any type of skin problem.  After all what do you have to loose?

Monday, December 26, 2011

Tutu

I made my adorable little sister a tutu for Christmas since she loves to play dress up!

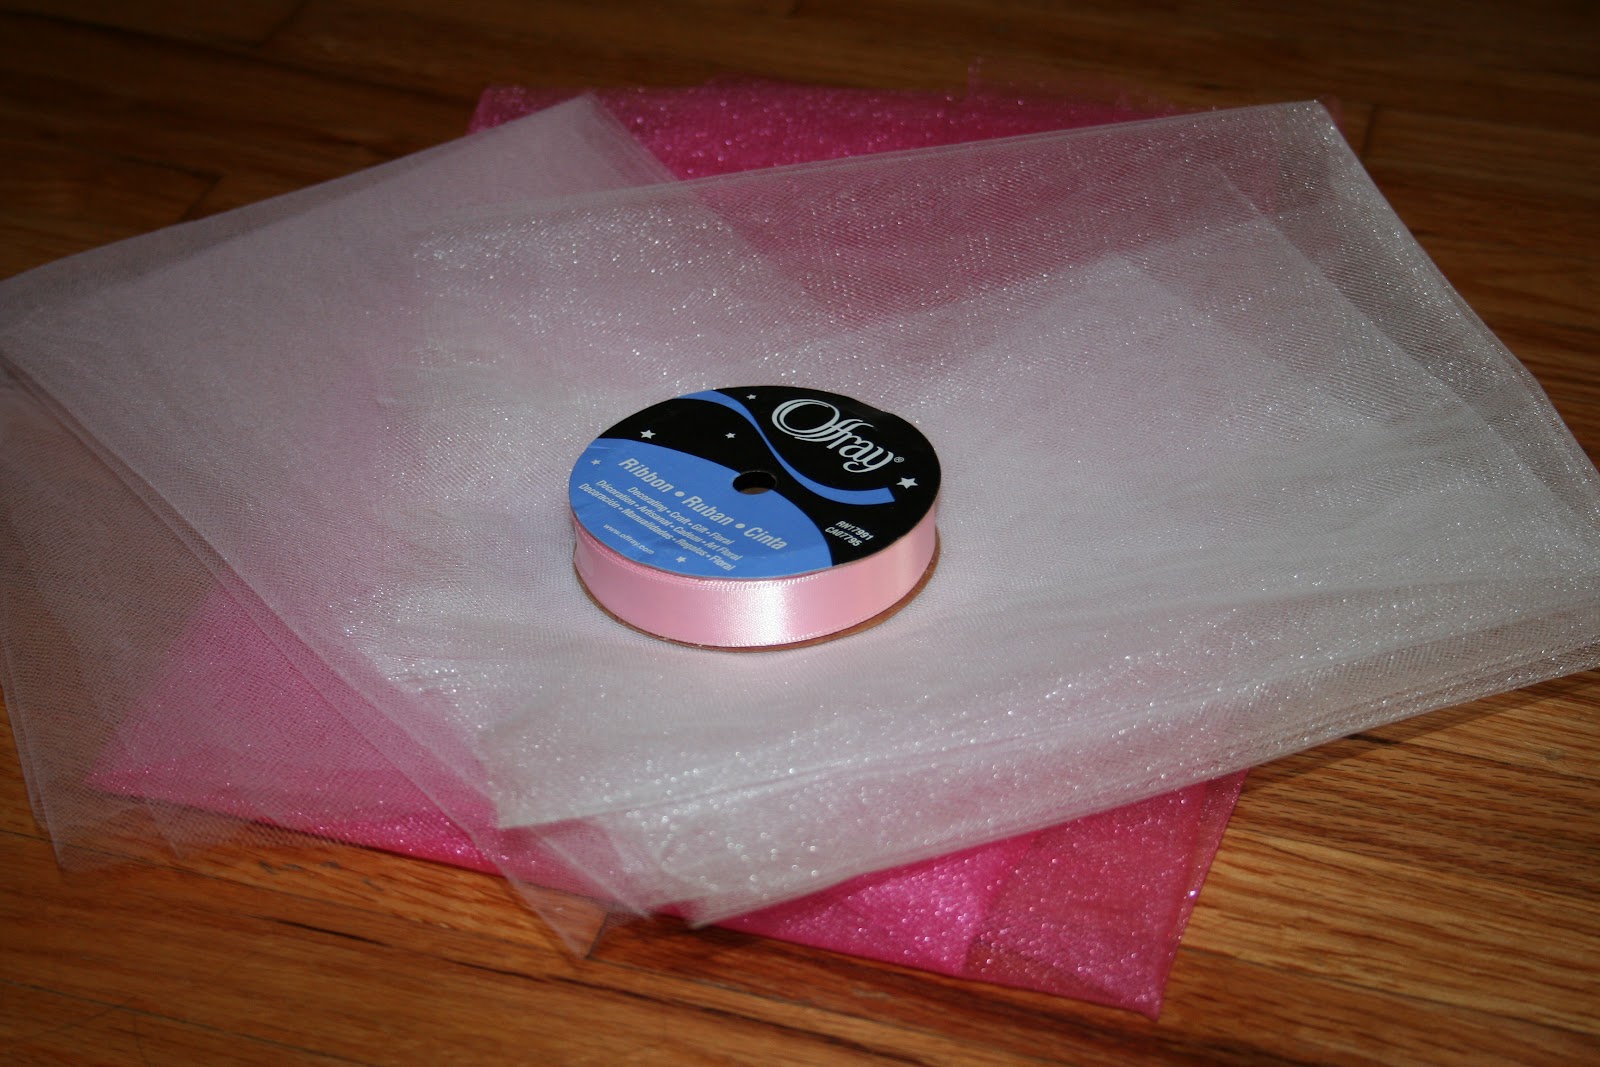
All you need is
Ribbon- 60inches
Tulle- 1.5 yds light pink, and 2 yds hot pink

Cut the Ribbon to 60 inches.  Tie a knot 20in in on each side.  The section between the two knots is where you are going to tie all the tulle to the ribbon.  Then you have two long ends to tie together around the waist.


Lay the tulle out so that is has the natural fold (just like it does when it comes off the bolt), roll up from the folded side so that it is a long roll. 


Cut the tulle every three inches,  Then you unroll them all and cut them all in half.  Take the strips of tulle, fold them over the ribbon and make a knot, around the ribbon. Continue this until all of the tulle is used up.  I then spread them out slightly along the ribbon.  This makes a very fluffy skirt!

Sunday, December 25, 2011

MIttens-Adult

Home spun yarn (blue) -Color A
Fun fur yarn (cream) -Color B
Angel Hair yarn (grey) -Color C
Size 6 knitting needles
I used the yarn that was left over from making the scarf to make the mittens so I did not buy any additional yarn

CO 12 in color A
Row 1: knit 2, purl 2 (repeat pattern until end of row)
Row 2-8 Repeat row 1, so you have a nice ribbed effect for the cuff of the mitten
Row 9: In color B knit row inc in the first and last st knitting all stiches between
Row 10: Purl
Row 11- : Repeat rows 9&10 until you have 22 st on needles, end on inc row, don't purl yet
Purl 10, place stitch marker on needle, purl 2, place stitch marker on needles, purl rest of row
Knit 10, move st marker, inc 1 in the nxt 2 sts, move st marker, knit 10
Purl
Knit 10, move st marker, k1, inc 1 in nxt 2 sts, k1, move st marker, knit 10 Purl 10 (move to stitch holder), remove st marker, p6, remove st marker, slip last sts onto a different st holder
*You should have 6sts on your needles with those stitches you are going to Knit row, Purl row until it is long enough to encase your thumb.  I did a total of 6 rows.
Decrease on the 7th row by k2tog, k1, k2tog, k1
Thread yarn through remaining stitches, and sew up the side seam of the thumb.

From the second stitch holder, purl all stitches back onto the needle, the add on the stitches from the next needle holder by purling them all onto the needles.  It should look like the picture above, when all the stitches are back on the needles.
Knit row
Purl row
In Color C:
Knit row
Purl row
Repeat the two rows until you have 6 rows
In Color A:
Knit row
Purl row
Knit row
Purl row
*Now we are going to start decreasing to form the top of the mitten- If you have larger hands then knit and purl a few more rows before you start to decrease. These mittens when finished look long and skinny, but they fit wonderfully as the yarn forms to your hand, just an fyi
Knit 2tog, k4 (repeat until end of the row)
Purl
Knit 2tog, K4 (repeat until end of the row)
Purl
Knit2tog, K2 (repeat until end of the row)
Sew yarn through the remaining stitches, and sew up all the side seams.

There you have it some nice warm mittens!


Scarf

I decided to make this for a Christmas present. Don't tell it was really easy to make and quite inexpensive since it was made up of left over yarn that I had.

I used 6 different colors of yarn so it is really up to you what type you would like to use.
Size 11 knitting needles

CO 20 st (in 1st color)
Knit  row
Purl  row
Repeat until you have 7 rows ending in a Knit row
Color 2
Purl row
Knit row
Color 3
Purl row
Knit row
Repeat until you have 6 rows
Color 4
Purl row
Knit row
Repeat until you have 4 rows
Color 5
Purl row
Knit row
Repeat until you have 10 rows
Color 6
Purl row
Knit row
Repeat until you have 6 rows
Now you are going to repeat the pattern of all the colors, but your color 1 from now on will be 8 rows so you come out even and ending on a knit row each time. Just do this until it is long enough for your liking.  I did this pattern 4 times, and it is the perfect length for me. Bind off, and sew in all the edges.

Stay warm!