Friday, March 30, 2012

Chair Cover

With everything getting moved around and being in a new place, my one cat gets finicky.  Needless to say how she usually repays us is by peeing on something.  So of course she picked my Ikea chair to pee on because we have one no where near us to be able to get a replacement cover at.
We decided to make one since we just finished the basement.  I really wanted some red down there, but not too much.  A chair cover was the perfect place to add some pops of red!

We found these super soft sheets on sale at Walmart and since a couple things needed recovering you will probably see this same design pop up in a lot of places.  But I like things to match so I have no problem with that!
I am not going to give you measurements because if you decide to recover something yourself it will probably be a different size.  This will just give you the basics on how to do it.
Part 1: Measure the top part (where your head rest).  Cut the fabric to that size(adding some for seam allowance).  I then had some old batting I put in there to make it fluffy since this is the head rest of the chair. Sew all this up making sure to sew the batting into the seams so that it stays and doesn't move around when you wash it.  Also make sure the right sides of the fabric are together and the batting is on one of the back sides.  I then place batting side down on the sewing machine so the needle doesn't get stuck in it.  I have some batting spray so I sprayed this on the fabric to make sure it sticks(it is like a glue for fabric and batting). Set this piece aside.

Part 2. I measured the second part of my cover, and cut that about 3 inches longer than needed.  I did these because I needed some room for seam allowance and also to sew the other two pieces to this one piece.  I then followed the same steps as above.  I placed the batting on one of the wrong sides and put the fabric right sides together.  Make sure you don't sew it all the way around so you have room to pull all the fabric through.  I left the whole bottom open as I was not quite sure how I was going to attach it to the other pieces yet, and needed to come up with a way to put the foam back into the chair.  I didn't really want to do a zipper not that it's hard I just didn't want to have to go and buy one, too cheap for that! 

Part 3: Same as the last 2 parts.  Measure and add room for seam allowance and some extra so you can attach it to the middle piece.  I added 2 inches to this one from the original measurement.

Part 4: Now we are going to attach all these pieces together and close up all those last seams.  I was still deciding how I wanted to do this in the process because I wanted to make sure I could remove the cover if it needed washing and then I wouldn't have to wash the foam pieces that go inside of it.

I attached them with some the top side of the fabrics sewn together-the parts that would be touching once on the chair.  I sewed this with about a 1 inch seam and I sewed about 1/4 of an inch in on either side just to make it lay flat and look nice.

Now all that is left is the back side of the chair cover which is left open.  I decided to put some snaps on this side so I can easily remove the cover if it needs washing.  So I attached three snaps-they are the hammer in kind and they work great! Last we stuff the foam back into the chair, and snap it closed and you are done!

It looks really nice and really adds a nice touch to the basement. The cat likes it:)

Tuesday, March 27, 2012

Kitchen-Finished

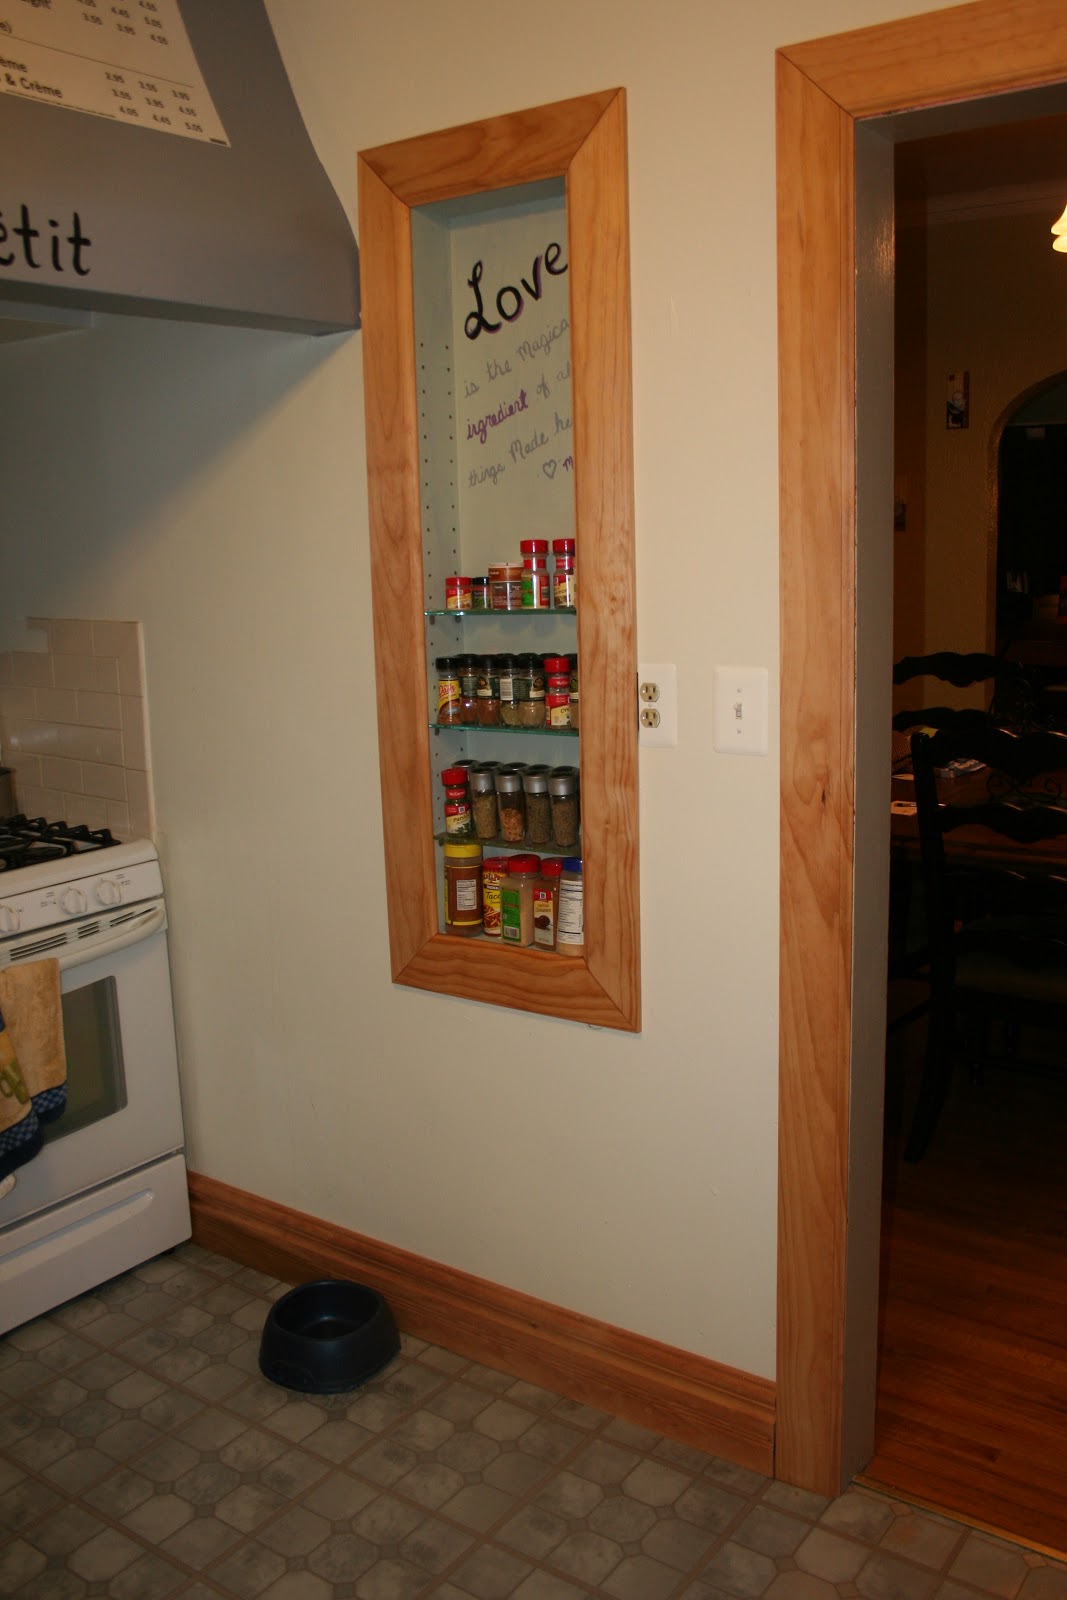
YEAH! All the trim in the whole kitchen is finally up.  The decorations are slowly coming together.  It really feels like home again. And it is all done just in time for our new little one to arrive.  I love the super wide baseboards. Thanks to a special friend at church for allowing us to use his saw, that was amazingly nice of you and we couldn't have done it without you!


Thank you to my mother and brother in law for coming out and helping us get things finished in there.  It was amazing to have your company and you were such a huge and wonderful help. 
Now we just need to figure out what we want to do with that back door.  We are having a dilemna-paint it white, strip and stain it to match all the new trim, or buy a new door when they go on sale.  I'm opting for the new door I believe.  It is kind of old and scratched up, we shall see what we come up with.

Monday, March 26, 2012

Happy Monday

It looks like it is going to be a beautiful week here in McPherson.  I'm really excited about that.  After almost a full week of rain I'm really excited for a full week of warm weather and sunshine.

We are hoping that baby girl makes her arrival this week sometime, wouldn't that be wonderful? Bed rest is getting a bit boring although now that my help is gone I usually only lay down when Eli is sleeping.  The rest of the time I get to take care of him, and play with him.  He has been a bit more clingy than normal lately, but I can't say that I mind.  It just means a lot of snuggles for mommy-which I am always ok with.

I hope everyone has an excellent week.  I know we are planning on it!

Thursday, March 22, 2012

Disposal Cleaner

I like my disposal to always smell clean, I mean come on who doesn't.  My disposal seems to get stinky quite often as we do a lot of dishes and a lot of extra food pieces go down the disposal.  I would often put half a lemon down the drain.  If I didn't have a lemon I would run some vinegar down the drain, and then clean the sink with some yummy smelling lemon cleaner.  This made me think surely there is an easy way to store a disposal cleaner premade!

Since I love both of these I decided to use them both.  I have heard before that it is good to run ice down the disposal to really clean the blades. (I'm not sure where I heard this, it could have been my dad-he always seemed to know everything about cleaning things and the right chemicals and mixtures to use to get the best results) So why not make some lemon/vinegar ice?

Here is what I used:
2 ice cube trays
2 c Vinegar
2 c Lemon Water -click here to see how I made it

Now just fill each ice cube tray up with half the vinegar and half the lemon water.  It smells wonderful going down the drain.  Both the lemon and vinegar have disinfecting agents, and both make the drain smell much better. Now place in the freezer.  Once frozen transfer to a freezer Ziploc bag, date and label (so you don't accidentally use for something else).  When needed pull out an ice cube and turn on the disposal.  Enjoy the cleaning effects and the smell. Also enjoy the fact that you didn't pour any harsh chemicals down your drain.

Sunday, March 18, 2012

Roasted Herb Chicken

Whole Chicken(mine was almost 3lbs)
1 tsp of all the following spices- basil, oregano, thyme, rosemary, sage, garlic powder and onion powder
2 TBSP olive oil
couple squirts of lemon juice

Place the whole chicken in a pan (I just used a baking dish because my roasting pan was was too big for a chicken this small).  Pour olive oil over top of the chicken and then squirt some of your lemon juice on top.  If using a real lemon use about 1/2 a lemon and squeeze the lemon on top of the chicken.  Mix all your spices together and sprinkle over top of the chicken.  Bake at 350 until inside measures 180 degrees.  I was always told that a good guide for roasting a whole chicken is to cook it for about 25min a pound. My chicken cooked for about 1 hr 15min and it came out good.

Note: usually when I make this chicken I like to stuff the inside with 1/2 an onion sliced into a couple pieces as it just helps to add some good flavor.  It tasted ok with the onion powder this time, as I didn't have an onion to use.

Once again no picture- I apologize we usually get so excited to eat it we end up just digging in!

Friday, March 16, 2012

Tub Cleaner

Alright so I am a bit skeptical of things at time, and this didn't really seem like any miracle cleaner to me, but decided what did it hurt to give it a try.

Oh my goodness, it is a miracle cleaner.  My cream tub has never looked so sparkly in my life!  I didn't take before/after pictures because I honestly didn't think it would work but it did, and now I'm sad I didn't take a before picture.

I found this off of pinterest so I can't take credit for it, but I just want you to know I am a firm believer in it and would recommend it to anyone!

Squirt Bottle
Dawn
Vinegar

Fill the squirt bottle with half Dawn and half vinegar.  I only filled the squirt bottle half way up because I had my doubts that it would work.  I sprayed it all over the shower, and I let it set for a bit.  Mainly because I'm not really supposed to be doing work around the house but can't stand the thought of sitting still so I just do one thing and then sit, and then do another thing and then sit some more.

So after I sat for about an hour, I went back to the tub for scrubbing.  I could seriously see the soap scum coming off the tub as I was scrubbing.  I had no idea my tub was that dirty.  YUCK!  It's all better now though and looks amazing.  Once you have it all scrubbed(it will be quite bubbly as it has Dawn in it), then you rinse everything down.  Now I can't wait to take a shower in my nice clean tub!

This is seriously way cheaper than buying scrubbing bubbles and works so much better than any other tub cleaner I have ever used, as I have tried a lot to get the hard water off the tub and the soap scum but never quite seem to succeed.  Seriously try this, you will be so glad that you did!!

Coffee Sign

For those of you who know me quite well you know that I love coffee.  I worked in a coffee shop for 5 years and loved it, but I also grew up around it.  My parents and grandparents were always drinking coffee, I think it has become more of a comfort item then a necessity.  When I was pregnant with Elijah I couldn't drink coffee for the first 3 months because it made me nauseous, and then all the sudden one day I craved it, and yeah I was able to drink it again.

Any way, now that my kitchen is done I am going to keep the coffee theme going in there.  Since I changed the colors though I need some new decorations.  Since I would prefer to make something cool, then go buy something really expensive I came up with this idea!

What you will need:
Canvas
Old Floor Tiles(mine were peel n stick vinyl so they were not too heavy)
coffee filters
Hot glue gun/glue

First, on my canvas I laid out all the scraps of tile that I had left from putting the flooring in.  I didn't really want any of them to go to waste, and they made a nice background and obviously matched the kitchen.

Next, I went to town scrunching up all the coffee filters, so they looked pretty.  I found for this project it worked better if I cut them in half since I was going to be writting out of them.  The full coffee filters were a bit too big.

Then, I set to work spelling out coffee on the tile with the hot glue gun(I only did one letter or half a letter at a time so it wouldn't dry), then I placed the coffee filters on it.

On the bottom underneath the word coffee I put a coffee cup.  I centered it under the "f" so that it looked like the fs were more of the steam coming out of the cup of coffee.


Now since I already had the tile(as it was scraps), I already had the canvas(it came in a two pack and I had already used the other one for a different project), the only thing I needed to buy were coffee filters(since my coffee pot has a reusable one).  Which means I made this project for a total of 1.50-can't beat that in my book and I really like the way it turned out.  This will look wonderful above my arch in the kitchen!