Thursday, January 26, 2012

1st Birthday

I can't believe my little man is 1! I know it hasn't been a year since we welcomed him into our family.  What a special day that I will never forget.  And we are blessed beyond measure with a sweet, content, chubby, little man.  We couldn't have asked for anything better.  Needless to say he is giving the next one a run for their money.

Here are some pictures of my big boy on his birthday.  Playing with his new sidewalk chalk!

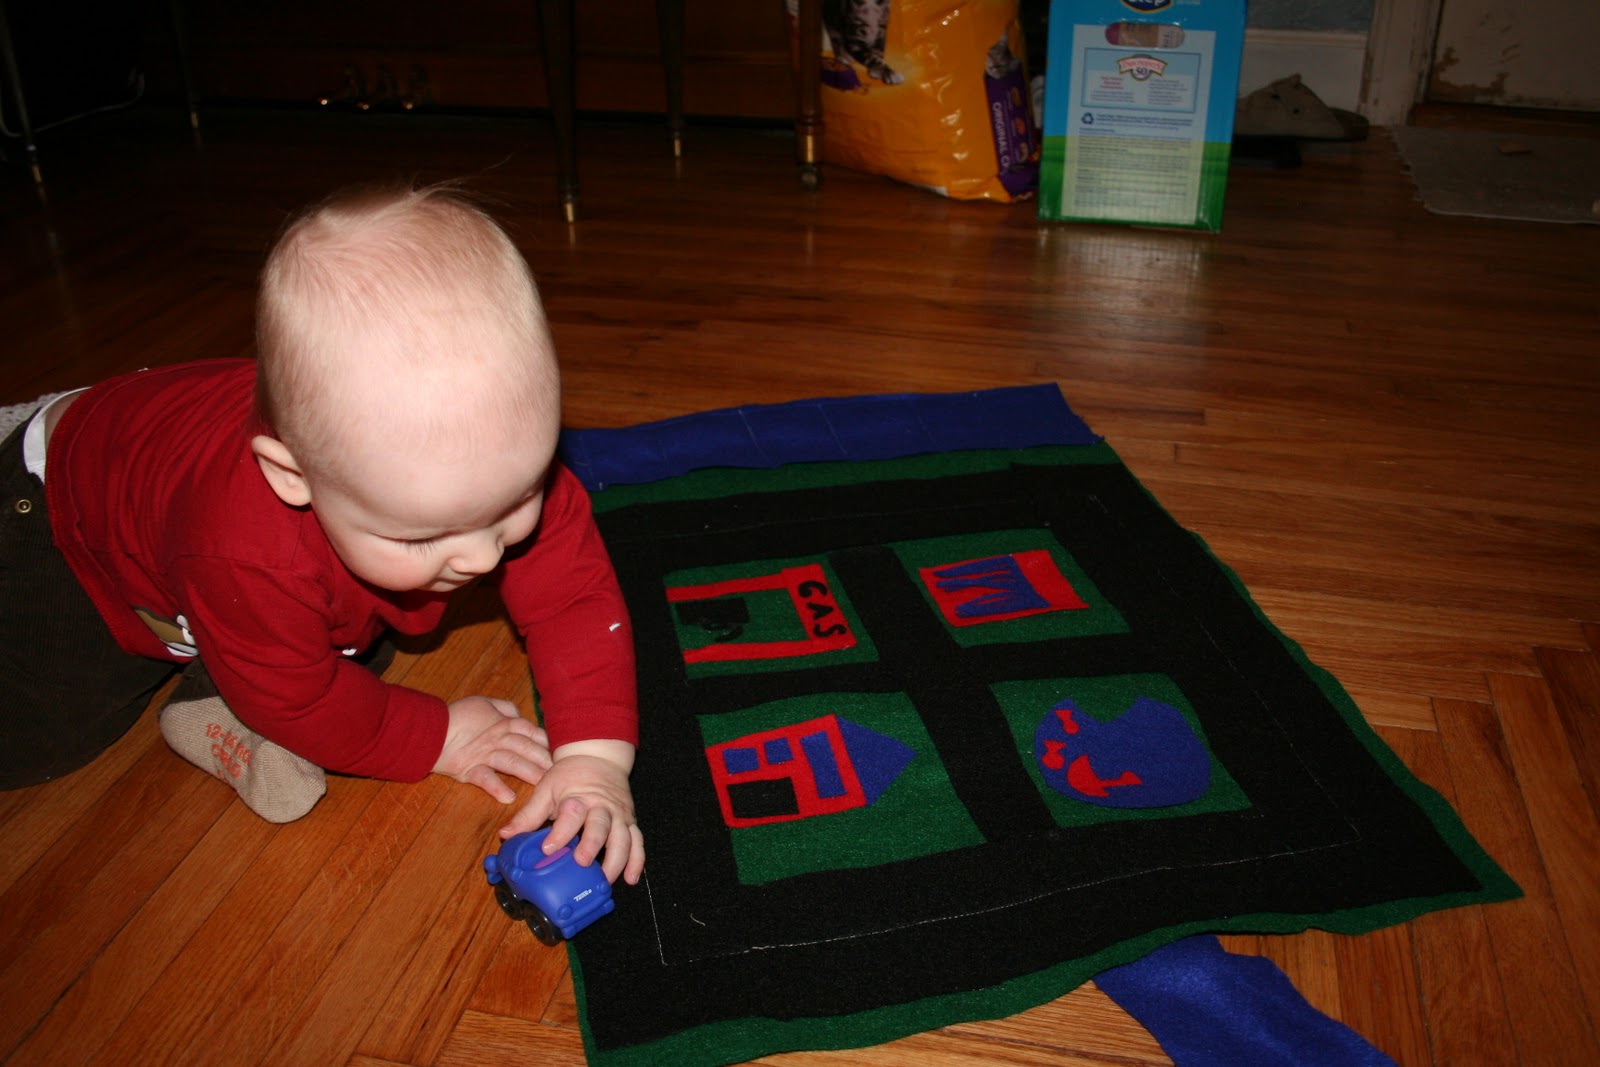
 And his new car mat, he really seemed to like it!
 His mini car cakes!
 Let's eat!

I think it turned out to be a good day afterall.  We had Steak and Potatoes for lunch, with raspberry jello shaped like cars.

Tuesday, January 24, 2012

Waffles

Homemade Waffles

Ingredients:
1.5 C Flour
1 tsp baking powder
2 eggs, separated
1 c milk
1/4c melted butter

*Makes 4 waffles

Directions: Mix dry ingredients together.  Add wet ingredients. Beat the egg whites until soft peaks form.  Fold into batter. Pour into waffle iron. 

I love to add Berry Sauce and some powder sugar on top! All the better. Enjoy!

Saturday, January 21, 2012

Brown Sugar Scrub

1 c Brown Sugar
1/2 c Sugar
1 tsp Almond extract
1 tsp Vanilla extract
4 TBSP Coconut Oil-melted
Olive oil

Mix them all together, except the olive oil.  You can stir it by hand if you would like, I personally did it in the mixer on high with the whisk attachment so that it was lighter.  I don't like mine to feel too oily.  The olive oil is used more as a filler, if it looks like it needs more oil the just slowly add some olive oil to the mix.  Easier than melting down more coconut oil. Then store it in any type of container you like, I used a mason jar.

Enjoy it is heavenly! Keeps your skin so soft, with no harsh chemicals.

Friday, January 20, 2012

Burp Cloth

I decided since we are having a girl next time why not dress up the burp cloth a little, just for fun.  I only did 2, because they don't really need to be fancy after all they are for catching spit up.

Materials:
Burp Cloths(cloth diapers)- Wash before so they shrink before you add the fabric
Fabric of your choice- I did pink with polka dots

 1. Lay the Burp cloth out on the Fabric

2. Cut the fabric so that you have abou 1/2" on all sides

3. Fold the edges of the fabric under so they match up with the burp cloth, pin in place.

4. Sew up all sides close the edge of the fabric.  I sew it on the other side of the hem of the burp cloth.

5. You are finished and now you have something a little bit nicer than a white rag to throw over your shoulder!
Note: I always make sure to have the tag of the cloth on the inside, then there are no blemishes!

Thursday, January 19, 2012

Gathering Fabric- How to

This is more for me and the ease of future posts since I will be doing a lot of ruffle's since I have a baby girl on the way.  Then if you don't know how to make a ruffle you can go here and if you know how to make one you can just do it.

Here is how to gather fabric:

First cut the Fabric the length and width you need it.  It should always be 1.5x a length of the item you are making so you have room to gather it.  Width depends on how big you want the ruffle to be, on big people clothes 4-5" and on baby clothes I recommend 2" so you have room to hem up the bottom and tuck the top yucky piece away so everything looks neat and clean.

Second, Hem the bottom of the ruffle under.  On a child's ruffle I use 1/4" seam and on an adule ruffle I use 1/2".  This will keep things looking neat.  If you are going to see the top part of the ruffle.  I would recommend hemming the top part also.  This will again just keep things neat and clean!


 Third, Put your sewing machine on the greatest stitch length, and as loose as it can go. My greatest stitch length is 4.
Forth.  Sew about 1/4" from the top of the fabric all the way across. Leave long tails on both sides of the fabric, so you can use these.
Fifth, Now we are going to do the gathering. You are going to take the thread on the under side(the bobbin thread), Pull on the thread some and help move the fabric along.  Be careful you don't want to break the thread. Keep pulling until you have gone the entire length of the fabric.

I usually then just go back over it and make sure all the ruffles on the fabric look even.

And you are done, now we can attach it to whatever we want! YEAH! I love ruffles.

Wednesday, January 18, 2012

Heated Rice Bag

During pregnancy I'm convinced that rice bags are a women's best friend.  After I had Elijah, my dog ate mine, so now that my back is starting to hurt.  I decided I would make my own.  After all it couldn't be that hard.  And it wasn't, it was quick, easy, and practically free!
Rice (NOT instant, Use long grain rice of any kind white or brown)
Fabric (fleece or 100% cotton work best so it doesn't catch fire in the microwave)


I cut a piece of one of my scrap fabrics out.  It measured 12X18". 

Fold the fabric together with right sides facing each other.  It should measure 6X18" now!  Sew with a 1/4" seam. 

Leave about a 2 in hole on one of the sides, so you can add the rice to the bag.  Turn the bag right side out.

Add the rice, and then tuck in the ends of the fabric and sew up the last part. Make sure when you add the rice that you don't over fill it our it will not mold around your shoulders right.  But put enough in it to maintain the shape.  You can really do any shape or size you want, but I like it for my lower back so I made mine long and skinny!


I decided last minute to do a zig-zag stitch along the top and bottom of it, in hot pink just for fun!

Ahhh, relief at last!

Sunday, January 15, 2012

Dress up-Wand

This is an old blind rod believe it or not.  It broke off one of our blinds and I have been looking for something to do with it.  I thought it fit in perfectly with the dress up theme I was doing for my step-sister.
I took the old rod, my hot glue gun, and all the pink ribbon I had in the house and set to work.

I cut off a part of the bottom of the rod because it was a little too long.  I then started at the bottom edge of the rod, and started adding hot glue to the ribbon and wrapped it all the way around the rod.  Remember to just add a small amount of hot glue at a time since it dries quickly.  When the rod was covered with the ribbon.  I made a big bow out of the same color pink ribbon.  I then hot glued that to the top of the "wand", there was a small flat part at the top which made it ideal for adding the bow to that spot.  I then cut multiple different lengths of ribbon in the other two colors that I had and attached them, so it had some flowy(sp?) ribbons coming down making it pretty.  I think it turned out really good and it took almost no time at all.  I'm quite proud of this one!

I found an extra small hot pink flower that I decided to add the middle of the bow last minute!